Glamping promises the best of both worlds: sleeping under the stars with a real bed and a solid roof overhead. But many first-timers book a tent or dome expecting hotel-level luxury, then arrive to find no heating, no towels and a cold night ahead. These first-time glamping mistakes are surprisingly common, and most of them come down to one thing: assuming that “glamping” means zero preparation.
The good news is that every one of these pitfalls is avoidable with a little planning. In this guide, we’ll look at why these mistakes happen in the first place, then walk through the booking traps, site-selection errors, weather surprises, packing slips and budget miscalculations that catch new glampers off guard. By the end, you’ll know exactly how to plan a first trip that actually delivers the comfortable, memorable experience you pictured.
Why First-Time Glamping Mistakes Happen
The biggest reason first-time glamping trips go wrong is a simple misunderstanding of the word itself. “Glamping” covers everything from a basic canvas tent with an air mattress to a heated geodesic dome with a private bathroom and a full kitchen. There’s no universal standard, so two listings using the same word can offer wildly different levels of comfort. If you assume every glamping site comes with hotel-style service, housekeeping and amenities, you’re setting yourself up for disappointment.
What’s actually provided (and what isn’t)
Many sites provide exactly two things: shelter and a bed. That might mean a real mattress and clean linens, but no towels, no toiletries, no cooking equipment and no food. Some sites have shared bathroom blocks a short walk away; others have nothing at all beyond the tent itself. Read the listing line by line rather than scanning the photos, because a beautiful image of a made bed tells you nothing about whether there’s hot water or a kettle.
Weather and remoteness change everything
First-timers also underestimate how much weather and isolation shape the experience. A gorgeous safari tent in July can feel like a walk-in freezer at 2 a.m., and a site an hour from the nearest town leaves you stranded if you forget cooking oil or rain gear. Remoteness is often the whole point of glamping, but it means you can’t rely on popping out for supplies or calling reception for extra blankets. Understanding these two forces before you book will prevent most of the frustration that ruins first trips.
Booking Too Late or Skipping the Fine Print
Glamping has grown fast, and the best sites fill up long before casual planners start looking. For summer weekends, aim to reserve 2-3 months ahead. If you’re targeting peak season at a popular destination, push that to 4-6 months, because the most photogenic units — think waterfront domes or treetop cabins — often book out first and fastest. Popular holiday weekends and small properties with only a handful of units are especially competitive, so set a reminder and book the day reservations open rather than hoping a cancellation appears later.
Once you’ve found availability, resist the urge to click “reserve” without reading the details. The fine print is where first-timers lose money, and it usually covers three things: minimum stays, cancellation terms and what the price actually includes. Hosts aren’t trying to trick you — most simply state these terms once and expect you to find them. If you want a sense of what a fair rate looks like before you commit, this guide to typical glamping prices breaks down what you should expect to pay per night.
- Minimum-stay rules: Many sites require a 2-night minimum on weekends, so a spontaneous Saturday night booking often isn’t possible. If your dates are flexible, midweek stays usually sidestep this requirement entirely — and they often come with quieter grounds as a bonus.
- Cancellation windows: Refunds frequently require 14-30 days notice, and some policies only offer partial refunds or credit toward a future stay. Note the deadline in your calendar the moment you book, because “I’ll cancel if the weather looks bad” rarely works on the day of arrival.
- What the rate covers: Some listings quote a base price and add cleaning fees, extra-guest charges or firewood costs at checkout. Scroll through the full price breakdown before comparing sites, or you may be comparing numbers that aren’t equivalent.
Choosing the Wrong Site for Your Comfort Level
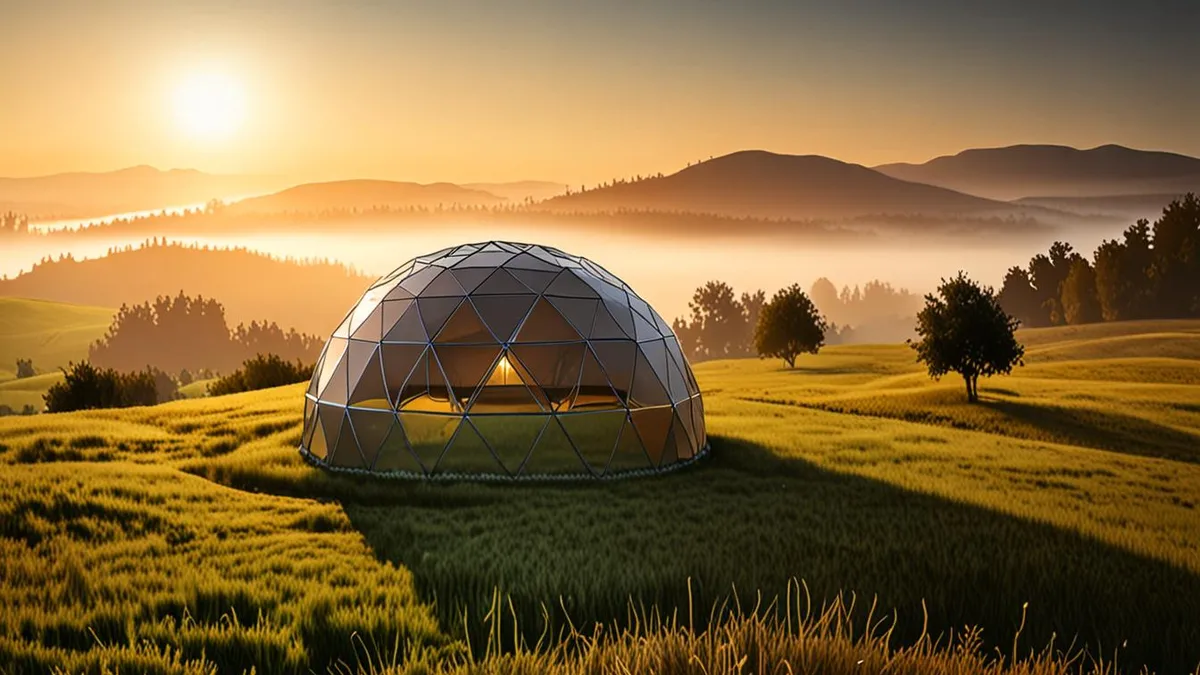
Not every glamping structure suits every traveler, and picking the wrong one is a mistake that follows you all night. Domes and cabins are sturdier and better insulated than safari tents, which are essentially heavy canvas walls that let in every sound, draft and temperature swing. If you’re a light sleeper, nervous about wildlife noises or traveling in cooler months, a solid-walled structure will serve you far better than a romantic-looking tent.
Equally important is checking what’s actually on site rather than assuming it exists. Some glamping properties have hot showers, communal kitchens and heating; others offer a composting toilet down the path and nothing else. The listing should state this clearly — if it doesn’t, message the host before booking and ask directly about bathrooms, cooking facilities and heat sources.
Finally, think about distance to the nearest town. A remote site is wonderful for stargazing, but if you’ll need groceries, want to eat out, or simply forgot something essential, a 45-minute drive each way changes the character of your trip. For a deeper walkthrough of this decision, here’s how to choose the right glamping site for your first trip.
- Shared versus private facilities: Some sites have communal bathroom and kitchen blocks used by all guests, which can mean queues on busy mornings. If privacy matters to you, filter for listings with en-suite bathrooms.
- Power and charging: Off-grid sites may run on solar with limited outlets, or none at all inside your unit. Ask where you can charge devices and whether lighting inside the tent is electric, battery or candle-based.
- Cell coverage: Remote locations often have weak or no signal, which matters if you need to navigate, work remotely or stay reachable. Check the host’s notes on connectivity rather than relying on your usual carrier’s map.
Ignoring the Season and Weather
One of the biggest surprises for first-time glampers is how much the season shapes the trip. A safari tent that feels magical on a mild June evening can feel drafty and damp during a cold snap. If you’re flexible with dates, aim for the shoulder seasons of May-June or September-October. You’ll typically get milder weather, lower prices and fewer crowds than during the height of summer.
Even in summer, don’t assume warm nights. Temperatures can drop 10-15°F after sunset, especially at higher elevations where many glamping sites are located. A day that feels perfect in shorts and a t-shirt can turn into a shivering night if you only packed for daytime weather.
Why cold-season trips need extra planning
Most glamping tents and yurts lack heating entirely, or offer only a basic heater that struggles in genuinely cold conditions. If you’re dreaming of a fall or winter escape, check the listing carefully for heating details and ask the host what the structure is really like at night. Some sites provide extra blankets or a wood stove, but many don’t, so it’s a question worth asking before you book rather than after you arrive.
What you bring matters just as much as when you go. Warm sleepwear, extra layers and a reliable light source can turn a chilly tent into a comfortable retreat. If you’re unsure where to start, this complete glamping packing checklist covers the essentials so nothing important gets left behind. A little planning around the season turns a potentially miserable night into a cozy one — and knowing what to bring makes all the difference.
Packing Wrong for a Glamping Trip
Glamping gives you a bed and a roof, but it rarely gives you everything a hotel would. The most common packing mistake is assuming the site will handle the details, and that assumption tends to fall apart the moment you arrive after dark. Instead, pack for the reality: chilly nights, dark pathways between structures and minimal supplies on hand. Start with layers and warm sleepwear, since most glamping tents and yurts lack heating or have only basic heaters, and you can’t count on the temperature inside staying comfortable after sunset. A cozy blanket from home is another easy win, because the bedding provided is often thinner than it looks in the listing photos. A small headlamp or lantern also earns its place, since many sites have low lighting outdoors by design.
Before you zip up your bag, run through a solid glamping packing checklist so nothing essential gets left behind. Then double-check your listing for what’s actually included, because it varies enormously from site to site — some provide full kitchens and towels, others little more than the bed itself.
- Slip-on footwear: You’ll be stepping in and out of the tent at night and early morning, often on gravel, damp grass or uneven ground, so flip-flops or slip-ons beat lacing up boots every time.
- A portable phone charger: Many sites have limited outlets or unreliable power inside the tent, and a dead phone is a real problem if you’re relying on it for directions, reservations or emergencies.
- Sealable food containers: If you’re in bear country or simply near curious raccoons, loose snacks left on a table invite trouble; sealed containers keep both wildlife and ants out of your meals.
- Paper towels and trash bags: Kitchens, when they exist, are often bare-bones, and most sites expect you to carry out your own garbage rather than leaving it behind.
A few extra items in the car cost you nothing in comfort terms — but leaving them behind can cost you a whole night’s sleep. Toss in a spare layer, an extra charger cable and a pack of cards for slow evenings, and you’ll be ready for almost anything the site throws at you.
Misjudging the Budget
Glamping sounds like a budget hack compared to hotels, but that assumption trips up a lot of first-timers. As a baseline, expect to pay roughly $100-$300 per night, and luxury domes in sought-after locations can easily hit $400+. That’s often comparable to — or more than — a mid-range hotel room, especially in popular regions.
The extras that inflate your total
The nightly rate is rarely the whole story. Many sites charge separately for firewood, and if you want a campfire each evening, those costs add up quickly. Activity fees for on-site amenities, cleaning charges, pet fees and even linen rental can push the final bill well above the advertised rate. Read the listing’s fee breakdown before you book, and add up the true total rather than the headline price.
It’s also worth comparing honestly against a hotel. A hotel gives you reliable heating, hot showers, room service and a locked door. Glamping gives you nature, character and often stunning views — but if the price is similar, decide which experience you actually want. When you budget realistically, factoring in every extra, glamping delivers genuine value. When you don’t, the “affordable luxury” trip can feel like an expensive compromise.
Making Your First Glamping Trip a Success
Glamping can feel like a hotel in the wild, but it rarely works that way without preparation. The most common first-trip mistake is assuming luxury means zero planning, then getting caught out by cold nights, surprise costs or a site that doesn’t match your comfort level. A little homework fixes most of it.
Book early and read the fine print before you commit, and pick a stay type that matches how comfortable you really need to be. Plan around the season, and pack for cold nights even in summer. Budget realistically, including the extras, so the trip delivers luxury without surprises. If you’ve learned any lessons from your own first glamping trip, share them in the comments below.