You book a glamping escape for one reason: to fall asleep under a sky crowded with stars. Then you arrive, and reality hits. A security floodlight hums over the parking area, string lights wrap every deck rail, and a glowing town sits just over the ridge. You count a handful of bright stars, give up, and go to bed disappointed. The tent was comfortable, but the sky you paid for never showed up.
That disappointment is avoidable, and it starts before you book. Real stargazing glamping depends on three things working together: a genuinely dark location, the right week on the moon calendar, and a unit designed for low light. This guide walks through how to read light pollution maps and the Bortle scale, when to time your trip around moon phases and seasons, which stay types suit night skies best, how to spot hosts who take darkness seriously, what to budget, and how to pack for a full night outside.
What Makes a Site Truly Dark: Reading the Sky Before You Book
Not every “remote” listing delivers a dark sky, so it pays to judge the location yourself before you commit. The easiest tool is the Bortle scale, which ranks skies from class 1 (pristine, natural darkness) down to class 9 (inner-city glow so strong that only a few stars survive). For stargazing glamping, aim for class 1-3 skies. Once you reach class 5 and above, sky glow becomes noticeable to the naked eye and the Milky Way fades fast, even if the site itself feels quiet and rural.
Use maps and certifications to narrow the field
Light pollution maps are your next check. Overlay the site’s location and look at the surrounding region, not just the immediate property. A good rule of thumb: pick a site at least 30-60 minutes’ drive from the nearest city of 100,000+ people. That buffer keeps the glow dome on the horizon instead of overhead.
Certified dark sky places take the guesswork out of the search. These destinations have been formally recognized for their darkness and must show a naked-eye limiting magnitude of about 6.5 or better, which is roughly the faintest star a healthy human eye can see under truly natural conditions. Staying in or next to one of these areas stacks the odds firmly in your favor.
Finally, zoom out on satellite photos. A property can sit in a black zone on the map yet still face a nearby town, a highway interchange, or a neighboring resort that leaks light straight toward your tent. Scan for these sources within a few kilometers and, if you find one, ask the host which way the unit faces before you book.
Timing Your Trip: Moon Phases and the Best Stargazing Seasons
You can book the darkest site on the map and still get a washed-out sky if you pick the wrong week. The moon is the single biggest factor you control. Plan around the new moon: the week before and the week after it offer the darkest skies of the month, while a full moon is bright enough to wash out all but the brightest stars. A moonlit night can look romantic, but if your goal is the Milky Way, schedule your stay in that new moon window.
Seasons: the shoulder-season sweet spot
Season matters almost as much as the moon. In most temperate regions, the shoulder seasons of March to May and September to November hit the best balance: nights are long, skies are often clearer than in humid summer, and glamping sites are quieter, so fewer lights and campfires compete with the stars. If you want a packing list that handles these in-between conditions well, this complete glamping packing checklist covers the essentials.
Winter is the tempting trade-off. Nights stretch even longer and the cold, crisp air often makes stars appear sharper than at any other time of year. The catch is comfort: not every glamping unit is built for genuinely cold sleeping, so check heating and insulation details before committing.
One last trick: check moonrise and moonset times for your dates. If the moon sets early in the evening, the second half of the night can still be properly dark, even outside the ideal new moon week. Night owls can sometimes salvage a trip this way.
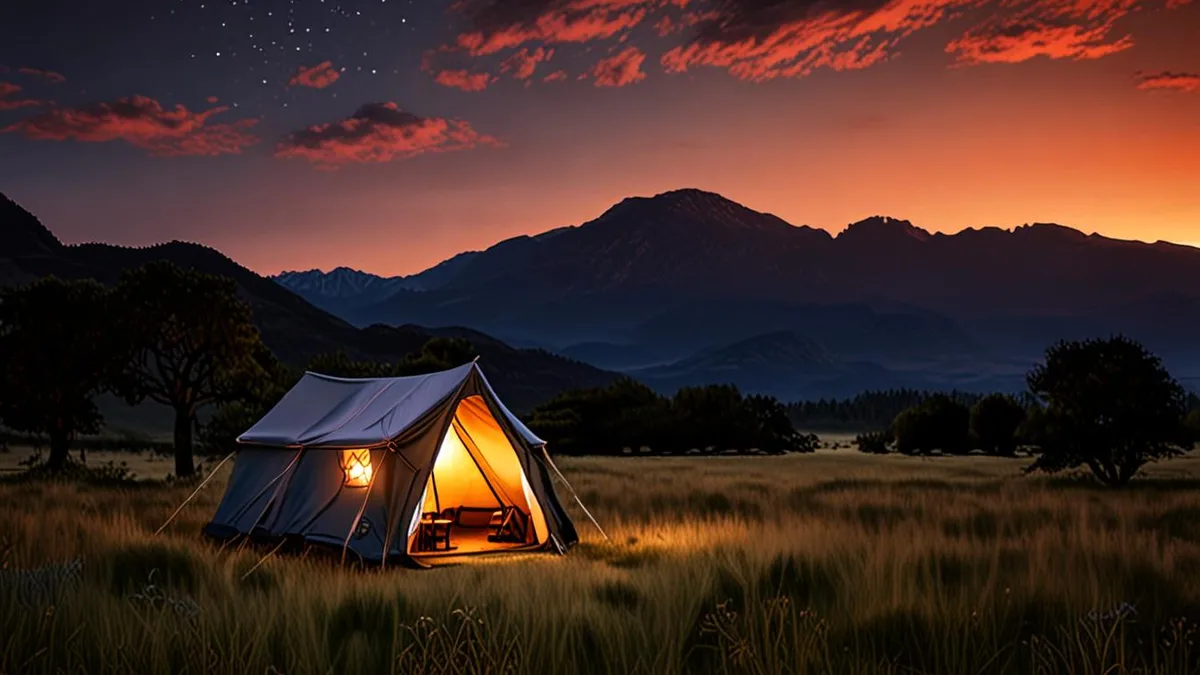
Choosing the Right Stay: Domes, Tents and Cabins for Night Skies
Once you have found a dark location and picked your week, the stay type determines how much of that sky you actually experience. The choice mostly comes down to how passive or hands-on you want your stargazing to be, and how much comfort you want while you wait for the sky to reach its best.
Transparent-roof or skylight domes are the luxury option. You can watch stars drift overhead from bed, which is hard to beat on a cold night, and the view comes to you instead of the other way around. The trade-off is price: these domes usually sit at the top of the range that stargazing-focused stays typically cost. If you are weighing dome styles against each other, this guide to the key differences between yurts, domes and safari tents breaks down what each structure actually offers.
Safari tents and yurts are the more affordable, more involved route. Units with roll-up canvas panels let you open the walls to the night, and a private fire pit gives you a reason to stay outside for hours instead of retreating indoors.
- Lighting controls: ask whether the unit has dimmable fixtures or red-only lighting, since ordinary white interior lights reset your night vision and force your eyes to start adapting to the dark all over again.
- Orientation of outdoor spaces: check which way the deck or hot tub faces. If it looks toward the site’s own lights or a neighboring property, your horizon view is compromised before you even lie down.
- Window and skylight placement: in domes and cabins, confirm whether the transparent panel sits above the bed itself or over a seating area, because the difference decides whether you can stargaze lying down or have to sit up all night.
- Canvas and insulation quality: in tents and yurts, thicker canvas blocks light leaks from neighboring units better and holds warmth longer, which matters on long nights outside the warm season.
Whichever type you choose, the same question applies: does the design let you stay in darkness, or does it force you back under bright lights the moment you want warmth, a drink, or a bathroom break?
How to Spot a Genuine Stargazing Glamping Site
Photos and descriptions can exaggerate, but guest reviews rarely lie. When you scan reviews, search specifically for words like “Milky Way,” “shooting stars” or “could see the stars from bed.” A review that only says the site is “quiet” or “remote” tells you nothing about sky quality — plenty of remote places still sit under a glow from a distant town.
Go one step further and message the host before booking. Ask directly about outdoor lighting: do they dim or switch off site lights after 10 pm, are there blackout windows when all lighting goes dark, and are guests asked to keep fire pits and lanterns low? A host who answers these questions confidently is a good sign; vague replies usually mean the site was built for atmosphere, not astronomy.
Small Sites Usually Mean Darker Skies
Size matters more than marketing. Every extra tent, string light and fire pit adds glow to the sky, so a site with three or four units will almost always outperform one with twenty. Fewer neighbors also means fewer accidental 2 am phone screens and headlamps pointed your way.
Finally, compare the photos. A genuine dark sky site shows stars in guest snapshots, because visitors actually bother to shoot the night sky there. Light-polluted locations tend to show stars only in polished, edited marketing shots — the kind that look too good to be true. If you want a fuller checklist before you commit, this guide to choosing your first glamping site covers the basics of vetting any property.
Booking Smart: When to Reserve and What to Expect to Pay
Dark sky stays sell out differently from ordinary weekends. You are not competing with everyone who wants a Friday night away — you are competing with every astronomer, photographer and couple who has already checked the moon calendar. That makes timing your booking just as important as picking the site itself, and it explains why the best units vanish first even at quiet, remote properties.
As a rule, reserve new moon weekends 2-3 months ahead. If you have your heart set on a transparent dome during summer, stretch that to 4-6 months, because domes are the rarest unit type and summer is peak season for them. Booking early also gives you first pick of unit placement, which matters more than most travelers expect: the same site can offer a clear horizon from one deck and a glow of neighbor lights from another.
- Target Sunday to Wednesday arrivals. Midweek nights around the new moon often come with lower rates and emptier sites, which also means fewer stray lights from neighboring units.
- Check whether the rate varies by moon phase. Some hosts quietly price dark sky weekends higher than ordinary ones, so shifting your stay by a few days can save money without losing much darkness.
- Ask what is included. Loaner telescopes, guided sky tours and firewood policies vary widely between sites and can change the real value of one night versus another at the same price point.
- Read the cancellation terms line by line. Cloud cover is the one risk no booking window can remove, so a flexible policy matters more here than for almost any other trip.
One last habit: screenshot the cancellation policy at the time of booking. Verbal assurances from a host are nice, but only the written terms count when the forecast turns gray. If clouds roll in, ask about rescheduling before canceling — many hosts will move your dates within the same moon cycle rather than lose the booking entirely.
Packing and Night Routines for a Perfect Night Under the Stars
A night under dark skies rewards preparation more than almost any other kind of trip. The site, the moon and the booking are done — what is left is making sure your body, your gear and your evening routine all cooperate with the darkness.
- Pack red-light headlamps and dimmable lanterns. White light resets your dark adaptation every single time, so a single phone screen or white flashlight can undo all the waiting you did to see faint stars. Red light preserves it, which is why serious stargazers treat a red headlamp as the single most important item in the bag.
- Bring extra layers and a warm sleeping setup. Desert and mountain sites can cool down sharply after sunset, even in the milder shoulder seasons. A blanket or camp chair made for lying back outside matters just as much as what is on the bed, since the best views come from spending the evening outdoors, not indoors.
- Download offline star map apps before you arrive. Many dark sky sites sit far from towns and usually have no cell signal, so an app that needs data is useless the moment you arrive. Set your apps to offline mode at home and test them in the backyard first.
- Set a simple evening routine. Eat dinner early, drop the lights low well before you head out, then give yourself plenty of unhurried time lying outside for your eyes to reach full dark adaptation. No rushing this part — it cannot be shortened, and every bright glance at a phone starts the process over.
Treat the evening as the main event rather than an afterthought to dinner. Once your eyes are fully adapted, even faint star clusters and the glow of the Milky Way become obvious, and the patience you invested in packing and planning pays off in the sky above you.
Wrapping Up Your Dark Sky Escape
The difference between a disappointing glamping trip and a night you’ll remember for years comes down to three things working together: a truly dark location, the right week around the new moon, and a stay designed with low light in mind. Get all three pointing the same way, and the sky delivers what the photos promised. Aim for class 1-3 skies, target the shoulder seasons of March-May and September-November, and budget $150-$400 per night for a stay that takes stargazing seriously.
Book new moon weekends 2-3 months out, pack red lights and warm layers, and give your eyes the 30-60 minutes they need to earn the full show. Do that, and you’ll fall asleep under a sky full of stars instead of a handful of them. If this helped you plan your dark sky escape, leave a comment or share the article with a fellow stargazer.