You’ve booked a glamping trip and the countdown is on. Then the packing question hits: your accommodation is neither a hotel with towels on the bed nor a tent where you bring everything yourself. Pack too little and you’ll be cold, hungry or fumbling in the dark; pack too much and you’ll spend your weekend hauling gear you never used.
This checklist takes the guesswork out of it. We start with the step most people skip: confirming exactly what your glamping site provides before you pack a single bag. From there, we cover layered clothing and footwear, sleep comfort, a practical kitchen and food list, toiletries, first aid and off-grid gear, plus when to book and what a typical stay costs. Follow it through and you’ll arrive prepared, not overloaded.
Before You Pack: Confirm What Your Glamping Site Provides
Before anything goes into a bag, spend ten minutes on the glamping site’s website or send a quick message to the host. Most sites publish an amenities list that spells out whether bedding, towels and cookware are included. If they are, leave yours at home. If they aren’t, these become the most important items on your entire packing list, and arriving without them turns a comfortable night into a miserable one.
Know your power and water situation
Ask specifically whether your unit has electricity, heating and running water. A safari tent with solar lighting and no plumbing calls for a power bank and a couple of water jugs; a cabin with a heater and a sink means you can pack far lighter. Hosts are usually happy to answer these questions, and the answers change what goes in the car.
Finally, confirm check-in and check-out times. Many glamping sites sit 30-60 minutes from the nearest town, often down unlit country lanes, so aim to arrive well before dark. Setting up, finding the bathroom and cooking your first meal are all noticeably easier in daylight, and check-out time tells you how much morning packing you need to plan for.
Clothing and Footwear for a Glamping Trip
Glamping nights are colder than most first-timers expect. Even in summer, temperatures can drop 10-15°C below daytime highs once the sun goes down, so the t-shirt and shorts you wore at lunch won’t cut it around the campfire. The fix is simple: three layers you can add or shed as conditions change. Start with a moisture-wicking base against your skin, add an insulating fleece for warmth, and finish with a waterproof shell for rain and wind. This system works whether you’re in a yurt in the mountains or a cabin by the coast, and it takes up less space in your bag than one bulky coat.
Footwear matters just as much. Bring two pairs: one sturdy, waterproof pair for trails and muddy ground, and one light pair for around camp. Slipping on sandals or slides after a day of hiking is one of glamping’s quiet pleasures, and it lets your hiking boots dry out overnight. If rain is forecast, pack a plastic bag to keep wet shoes away from your clean clothes.
The small items are the ones people forget, and they make the biggest difference after dark:
- Warm hat: a beanie keeps body heat in overnight, when most of it escapes through your head while you sit outside or sleep.
- Wool socks: pack at least two pairs even for summer stays, since wool keeps feet warm even if a morning dew soaks through canvas or grass.
- Swimsuit: if the site advertises a hot tub, lake or river, a swimsuit turns a cold evening into the highlight of the trip.
- Quick-change layers: keep your fleece and shell within arm’s reach of the door so you can step outside for stargazing without a full wardrobe change.
Finally, choose fabrics that dry fast and don’t hold odor. Cotton feels fine until it gets damp, then it stays cold and clammy for hours. Synthetic blends and merino wool handle dew, drizzle and repeat wears far better, which matters when you’re packing for 3 days and 2 nights from a single duffel bag.
Sleep and Comfort Essentials
Sleep Comfort: The Detail That Makes or Breaks a Glamping Trip
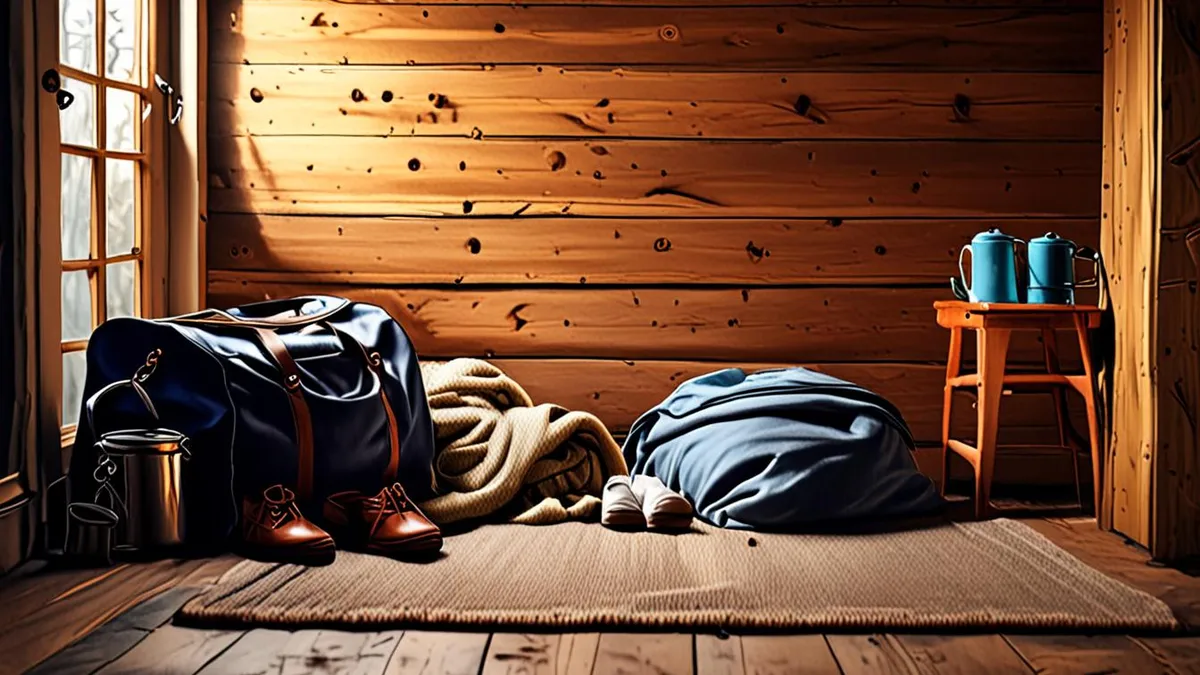
However stylish your tent or cabin looks in the photos, sleep quality decides whether your glamping trip feels like a break or a slog. If bedding isn’t included, bring your own pillow and an extra blanket, because nights can drop 10-15°C below daytime highs even in summer, and shoulder-season stays in May and October can feel genuinely cold once the sun goes down. A familiar pillow is also one of the easiest ways to fall asleep quickly somewhere unfamiliar.
Sound is the other surprise. Wind in the trees, unfamiliar birds, and distant generators all interrupt sleep in ways city bedrooms never do. Light is a third factor: canvas walls let in the first rays of dawn, which can wake you hours before you planned. A sleep mask and a pair of earplugs weigh almost nothing in your bag and can rescue an entire night.
Think about temperature management before you leave home. Canvas and yurt walls can feel damp in the morning, so air out bedding if the site allows it, and keep a dry set of sleepwear sealed in a plastic bag rather than loose in your duffel. Small habits like these matter more than they would in a hotel room.
- Hot water bottle: fill it at the site’s kettle before bed and tuck it under the duvet; it warms the sheets for hours on autumn nights.
- Hand warmers: disposable pairs slip into pockets for early morning coffee outside, when dew and chill peak before sunrise.
- Slip-on layers for night trips: a zip-up hoodie left by the bed makes 2 a.m. bathroom walks in shared facilities far less painful.
- Thermal sleepwear: pack a dedicated set rather than relying on daytime clothes, which may be damp from the evening air.
Kitchen and Food Packing List
Food is where glamping trips most often go wrong, and it usually comes down to one thing: distance. With many sites located well away from the nearest town or shop, a forgotten bottle of oil can mean a long round trip or simply doing without. Plan your meals for 3 days and 2 nights before you leave, and write a simple list of what each meal needs.
Pre-prep as much as you can at home. Marinate meat in a container, chop vegetables the night before, and portion out spices into small jars rather than bringing full bottles. A chili or curry made in advance reheats beautifully over a camp stove, and breakfast can be as simple as pre-mixed pancake batter in a bottle.
If your unit has no kitchen
Check your amenities list first, because some glamping units come with a full kitchen while others offer nothing more than a fire pit. If cooking facilities are limited, bring a cooler with ice packs, a basic cook kit, a cutting board, a sharp knife and reusable plates and cutlery. A single two-burner camp stove covers almost everything you need for a short stay.
Do not forget drinks and snacks. Pack your coffee gear, whether that is a small moka pot or a pour-over setup, plus trail mix, crackers and chocolate for between meals. Bring at least 2 liters of drinking water per person per day unless the site has confirmed potable water on site. Freeze a few water bottles before you leave and they double as extra ice packs for the cooler.
Toiletries, First Aid and Off-Grid Gear
Wash facilities at glamping sites range from en-suite bathrooms to a shared wash block a short walk away, and some sites have only basic facilities. Biodegradable soap and a quick-dry towel take up almost no space and work well in both situations. Quick-dry towels are also far more practical than regular bath towels, which stay damp for hours in cool weather.
A small first aid kit is another thing that seems unnecessary until you need it. Blister plasters are the single most-used item on most trips, since even comfortable camp shoes can rub on uneven ground. Insect repellent and sunscreen round out the essentials, especially near lakes and in wooded areas.
Off-grid gear worth carrying
Many glamping sites have patchy phone signal, so do not rely on your phone for everything. Beyond the basics, a few small items make a real difference once the sun goes down:
- A headlamp with fresh batteries, so you can cook, read or walk to the wash block hands-free after dark
- A fully charged power bank, ideally a high-capacity one, since charging outlets may be shared or limited to a single socket
- A paper map or printed directions to the site, because navigation apps often fail in rural areas with weak signal
- A small pack of wet wipes and hand sanitizer, useful when running water is a walk away
Throw everything into a small toiletry bag that hangs up, since counter space in shared wash facilities is usually limited. A headlamp on the nightstand, power bank by the bed and map in the glovebox means you are covered for the three most common off-grid moments of any trip.
When to Book and What It Costs
Glamping has grown popular enough that the best units no longer sit empty. For July-August weekends, book 2-3 months ahead. Safari tents, treehouses and units with private hot tubs tend to sell out first, and by the time summer arrives you are often choosing between leftover dates rather than the accommodation you actually wanted.
What a night typically costs
Prices vary widely, but expect to pay somewhere between $100 and $400 per night. Where you land within that range depends on the unit type, the season and the location. A simple tent on a working farm sits at the lower end, while a large lodge with a private bathroom and a view sits at the top. Check what is included at each price point, since a higher rate that covers bedding, towels and a kitchenette can work out cheaper than a basic rate plus rentals.
The shoulder-season advantage
If your dates are flexible, consider May, June, September or October. Sites are quieter, prices are usually lower and you still get long days for hiking and sitting outside. The trade-off is cooler nights, so pack extra warm layers, including a fleece for evenings and wool socks for early mornings. A fire pit or wood stove becomes the center of the trip rather than a nice extra, and many travelers find the shoulder season is when glamping feels most atmospheric. Whatever month you choose, confirm the site’s exact opening dates before booking, since not every site operates year-round.
Your Glamping Trip, Fully Packed
Glamping sits somewhere between a hotel stay and a tent trip, and that in-between status is exactly what makes packing confusing. The solution is simple: start with what your site already provides, then fill the gaps. Confirming amenities before you pack avoids doubling up on bedding, cookware and water, and keeps your load lighter.
This checklist covers what the site provides, layered clothing, sleep comfort, food, off-grid gear and booking timing. With everything on this list, a glamping trip feels as comfortable as a hotel stay with the atmosphere of the outdoors. If this helped you get organized, leave a comment or share the article with a friend planning their first glamping trip.